
Make your own virtual choir performance in just 8 steps. This guide includes tips for planning the project, recording participant tracks, and editing the submissions into a final performance ready to post and send. For related technology and tools, visit Sheet Music Plus.
You’ve seen them everywhere online: grids of iPhone videos of people singing together in chorus. From Broadway stars and professional choral groups to church and community choirs and even ad hoc regional and global networks of singers, the defining group music making moment of the decade so far is…
VIRTUAL CHOIR
Here we’ll walk you through what a virtual choir is and give you a step-by-step guide to creating your own, whether for the choir you regularly sing with or direct, or for a new group of singers you’ve brought together for a specific project.
What is virtual choir?
A virtual choir is a group of singers who work together remotely online, rather than in person. In the standard setup, singers record videos of themselves singing a line of a choral piece, and a video editor combines the files from all participating singers so that they overlap just as they would in a traditional in-person choral setting. The resulting video is ready to share with the world!
Virtual choir pioneer and evangelist Eric Whitacre famously constructed his Virtual Choir 6 in 2020, bringing together 17,572 singers from 129 countries around the world to join in a video performance of “Sing Gently“:
One of our favorite professional virtual choir performances is from the Sphinx Organization’s 2020 virtual gala. Featuring Sphinx’s own EXIGENCE vocal ensemble and Sphinx Virtuosi, this is Eugene Rogers’s arrangement of “Glory”:
Some of us at Sheet Music Plus even joined the global Hal Leonard team in a virtual choir performance of Deke Sharon’s arrangement of “With a Little Help from My Friends,” which is perhaps not as polished as the examples above, but provided us with a fun way to make music together at a distance and express our gratitude to our customers and to the worldwide music community for continuing to find ways to make it work:
Our 8-step guide to making your own virtual choir!
Step 1: Plan the project
Here is your planning checklist!
- Choose your music, or make a new arrangement for your choir to sing.
- Here are some links to popular choral sheet music selections:
- NOTE: If you make a new arrangement or write an entirely new piece, SMP Press is a great place for you to self-publish and sell it to other choirs, as well!
- Create a project timeline, including the following:
- Sign-up date
- Dates for any rehearsals or Q&A sessions
- Submission deadline
- Project completion date
- Any significant marketing dates (e.g., YouTube launch, launch events, etc.)
- Make all of the performance decisions, including interpretive decisions, as well as logistical ones such as:
- Will there be instrumental accompaniment, or will the final performance be a cappella?
- Will there be soloists? If so, who?
- Who will sing which part?
- Create a list of participants with their contact information and the part(s) they’re singing. (If a section is a little low in numbers, you can balance the sound later and/or have people sing multiple parts.) You can reference this and check it off after every step.
- Create a process for singers to submit their videos. This can be as simple as a Google Drive or Dropbox folder, but there are also projects that have upload pages and ones that rely on large file transfer services like WeTransfer.
- Prepare your guide tracks for each part.
- Create a detailed document for singers to walk them through the project. In addition to the interpretive directions you’re used to giving to choirs, this document should include:
- Recording best practices
- Deadlines
- What to wear
- What the video background should look like
- Video orientation (portrait or landscape)
- Musical notes
- Links to guide tracks
- Video file naming instructions
- Video upload instructions (with links to the folder or site where they should upload their final file)
Step 2: Prepare your guide tracks
Each vocal part will need a track that the singers can use to guide their recordings.
While a simple click track alone will technically suffice, it will likely make the process more frustrating for a lot of participants since it makes it hard to know how their part fits into the rest of the piece. You’re more likely to end up with more musical results – and happier singers! – if they have guide tracks to sing along with.
Here’s what we recommend:
- A starting cue that is audibly and visually simple and unmistakable. A clap has become the standard. The editor will use this cue to align the submitted videos.
- Let a metronome count two four-beat measures
- Clap on beat four of the second measure
- Instruct your singers to clap together with the track.
- Two measures of in-tempo metronome beats before the start of the piece.
- One recording of the full piece so that singers can hear how it all comes together
- Tracks for each part. These can be part-dominant tracks of the balanced track, or these can be recordings of only the individual voice part.
- You can decide whether to leave a click track running behind the guide track or not. This might depend on the piece as much as on your personal preference. While it helps mark rests, it also creates some difficulty with rubato and tempo changes.
- For more heavily stylized pieces, especially in genres like pop and gospel, it’s wise to include any stylistic choices you’d like the singers to make – for instance, any slides or syncopation not explicitly notated in the score – in the guide tracks themselves. The singers can listen and copy, and these choices will transfer into the final combined performance. In fact, virtual choir might be a great opportunity for a choir to explore repertoire that requires a bit more stylistic deviation from the text since rote learning is effectively built into the experience.
You also have the option of creating silent conductor videos for each vocal part to allow each singer to also have the visual cues they’re used to.
Step 3: Send out materials
Package singer materials and send! Email is probably best for most projects. Your email should include:
- Deadlines
- Dates for any rehearsals or Q&A sessions (if you’re planning to have them)
- Part assignments
- Solo assignments (if necessary)
- Sheet music (or how to access or purchase the music, or a note that it will arrive by mail)
- Guide tracks (or links to them)
- Guidelines document
Make sure you’ve sent this to everyone!
Step 4: Hold a rehearsal (optional)
Many musicians, even members of amateur choirs, hold themselves to high standards. As such, you can expect that they will have questions about the piece they’re singing, and if they’re new to virtual choir, they will also have questions about the process.
Plenty of virtual choir projects are completed without online rehearsals, but holding one or two before recording can help directors, singers and choir leadership alike get the information they need efficiently. Plus, it gives everyone a chance to catch up with their fellow singers and remember that they’re part of a larger musical community – just one more of the many fantastic aspects of being in a choir!
Step 5: Have your singers record their parts
Armed with guide tracks, it’s time for the singers to record themselves. This section contains advice directed to the singers.
To record, each singer will need:
- 2 devices (i.e., any combination of smartphones, computers and tablets): 1 for listening to the guide track and 1 for recording the video
- Headphones or earbuds
- A quiet room to record in
Set up your recording area as follows:
- Find a spot with a background that aligns with the guidelines
- Decide which device to use to make the recording
- Decide whether to sit or stand. Some choir directors will give guidelines on this, while others will leave it up to personal preference.
- Set the recording device on a stable surface in front of you around eye level so that your face is squarely in the video frame. You should also make sure that your background looks like you would like it and that the lighting is reasonable. Professional studio lighting isn’t expected or needed, but it’s nice to be able to see singers’ faces reasonably well.
- Set up the second device out of the frame of the video recording, and connect your headphones or earbuds to this device. This one will be used to listen to the guide track as you sing.

Start the video recording, start the guide track, clap along with the starting cue, and sing your line!
A couple quick tips for singers:
- Do a test run to check that the guide track playing through your headphones isn’t audible on the video recording.
- Make sure you record a video for the entire length of the guide track, even if you’re not always singing.
- Wait a few seconds after the song is over before stopping the recording. This gives the editor a bit of a cushion.
It will be tempting to do this many times over and over again to fix a note or a hair or lighting. Allow yourself a couple of tries to get things right, especially if it’s your first time participating in a virtual choir, but try not to get carried away! You’re likely one of many, and the end result is much more forgiving than you expect.
Save, export, and submit your video as instructed by your choir director!
For more tips for virtual choristers from an Eric Whitacre Virtual Choir 6 veteran, check out this blog post: “A Four-Part Journey through Eric Whitacre’s Virtual Choir.“
Step 5: Convert the files
- Create two folders: one for video and one for audio
- Copy all of the submitted video recordings, and put one copy in the video folder and one in the audio folder.
- Extract the audio from the files in your audio folder and convert the audio-only files to WAV
- Remove the audio from the files in your video folder and convert the video-only files to MP4
Step 6: Edit the audio
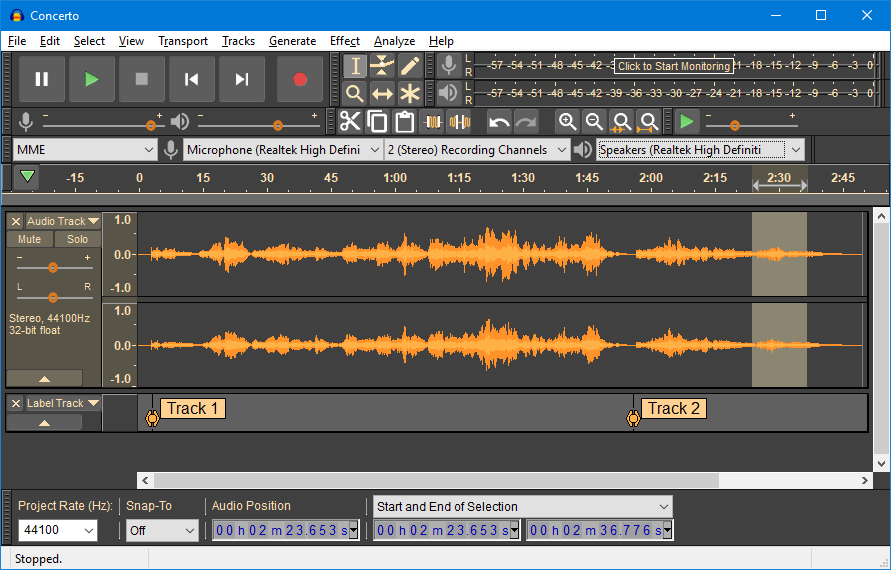
- Import the audio from each submitted video, as well as any accompaniment or backing tracks that you will want to include in the final performance video, into your digital audio workstation (DAW). Industry standard DAWs include Pro Tools, Logic, Ableton and Cubase, but there are also free options available like GarageBand and Audacity.
- Line up the audio files to one another and/or to a tempo grid. Your original guide track can help you here!
- Start by editing and polishing the individual choir tracks to correct any pitches, adjust timing, and balance the voice parts.
- Use software to clean up the sound. DAWs will have a lot of options to play with, and there are also “repair” plug-ins like iZotope RX and Waves-X that can help reduce breath noise and minimize the clipping that happens when phone microphones are overpowered (which happens easily).
- While you have creative freedom over how you want the final recording to sound, we recommend that you aim for a natural sound. Here are some ways to help overcome the rawness of what will likely be a lot of phone recordings without ending up with something sterile:
- Make sure you line up entrances and cut-offs as much as possible across the recordings. For the entrances and cut-offs that aren’t exactly lined up, silence the material you don’t want, then use “fade in” and “fade out” tools to smooth the sound.
- Compression: Compression lowers the loudest parts of a track. It will let you bring out different lines in different voice parts as they move around the ensemble.
- EQ: This lets you balance musical frequencies picked up by the various recording devices to better match a live performance. Generally, you’ll want to cut off the lowest (mostly inaudible) frequencies, clearing up room for your lowest voices to shine through. You might also have to cut off the highest frequencies unless you have high-quality recordings in your submissions.
- Reverb: Every DAW has built-in reverb plugins. Try them out, but generally less is more since these get very obviously fake very fast. Aim for subtle.
- Panning (if you’re feeling fancy!): Recreate the choir. Pan the singers by section (or mix up the voice parts!) as if you’re standing in front of them.
- Mixing: Automate the compression makeup and the volume of the tracks to bring out important sections and blend background parts.
- Mastering: This will fine-tune levels and equalization of the mixed track to give it that final polish by ensuring that the overall level is right, the stereo image is good and the frequency ranges are even. There are a ton of plug-ins available to do this, including Waves – Abbey Road TG Mastering Chain and Izotope Ozone 9, but also check out what’s included in your DAW.
- Export a single stereo WAV file.
Step 7: Edit the video
- Storyboard the visual narrative. A Brady Bunch-esque grid is most common, but many videos also change the positioning at various parts of the video, play with geometry and animations, and add other visual elements like photos or backgrounds. These can help tell stories or highlight individuals or smaller groups.Who’s on screen and when?
- Are there times when you want to highlight, say, a soloist’s video or call out subgroups like a graduating class or new members?
- Is there any text you’d like to include at the beginning, end or other points throughout?
- How do all of these parts fit on a wide-screen video?
- Import the final .wav file and your video-only files into your editing software. You’ll probably want to stick with industry standards like Adobe Premiere or Final Cut since most free software has very limited multi-video options.

- Align the videos and audio using the starting clap.
- Resize each individual video as needed and position in the combined video according to your storyboard.
- A couple of quick tips:
- Borders on videos can make much cleaner edges than trying to make micro-adjustments and align everything.
- Play with some basic color correction and lighting, but be careful not to get too carried away. Again, natural is best unless you’re going for something hyper-stylized.
- When all of the individual videos are into your combined video and it looks the way you want it to, trim off any extra footage from the beginning and end.
- Add in text or additional images at the beginning and/or end. This can include the name of the choir, the participants, the song, any special thanks – and anything else the choir might want to note!
- Export the final video as an MP4 or MOV file. Make sure to keep the same dimensions and frame rate as your sequence.
Step 8: Enjoy the finished product!
SHARE, SHARE, SHARE!
Post the video on YouTube, and share the link with everyone who participated, of course, as well as everyone who has an interest in your choir such as your mailing list, your school’s PTA, your church’s congregation, and so forth, depending on the choir.
You can also schedule a launch event to watch the video together with your choir and celebrate your achievement!

Reblogged this on Donfingers and commented:
The Art of Virtual choir project